
The keys feel like the finish line. After years of EMIs, site visits and waiting, the builder finally calls you to collect them. But the keys are the last inspection gate, not the finish line — once you sign the possession letter, every crack, leak and faulty switch becomes your problem to chase, and the builder's urgency to fix it drops sharply.
A careful inspection takes a few hours and costs nothing but attention. A careless one can cost months of follow-ups and arguments about whether a defect was there on day one. This new house handover checklist in India covers 40 checks in the order a site engineer would walk a flat — documents first, then room by room, then the snag list that turns your findings into the builder's written commitment.
1. The one rule: no Occupancy Certificate, no keys
Before a single wall is inspected, ask for the Occupancy Certificate. The OC is the local authority's certificate that the building was built as per the approved plan and is fit to live in, with working water, drainage, electricity and fire safety. The Completion Certificate comes first and confirms the building matches the plan; the OC follows and makes occupation lawful.
This is not a formality. In 2026 the Supreme Court held in Parsvnath Developers Ltd. v. Mohit Khirbat that a builder cannot compel a homebuyer to take possession without a valid Occupancy Certificate, and that offering possession without one is a deficiency in service. Without an OC the flat can be treated as unauthorised for occupation, and authorities commonly refuse permanent water and electricity connections until it exists.
So the sequence is: OC first, inspection second, final payment third, keys last. If the builder says the OC is "applied for" or "coming next week", do not sign the possession letter and do not pay the final instalment — a written promise of a future OC is not an OC. If you feel pressured, put your objection in writing and keep a copy.
2. Documents to collect before the inspection
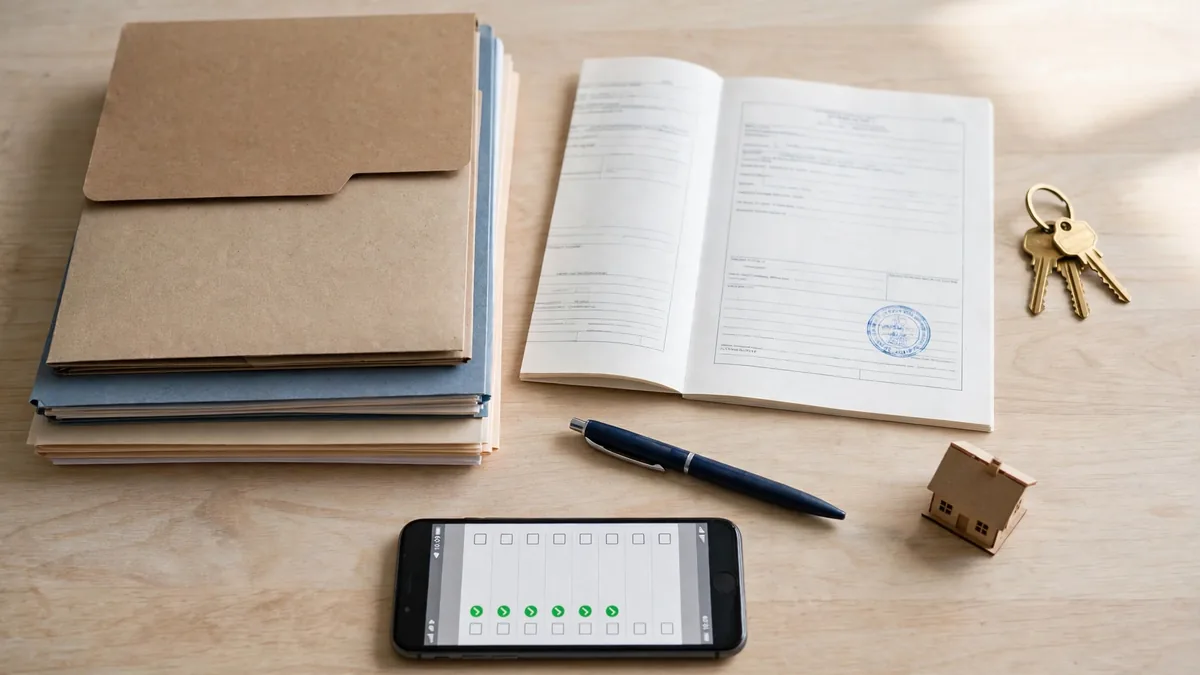
Walk into the inspection with a folder, not empty hands. Collect and photocopy every document below before you start testing taps and tiles. If any item is missing, note it on the snag list as a documentation snag — a missing warranty card is as real a defect as a cracked tile.
Demand the Occupancy Certificate and Completion Certificate in original or certified copy, the possession letter, a copy of the sanctioned building plan, and the RERA registration certificate for the project. Take the agreement for sale and the payment receipts, and check the final demand letter line by line against the agreement — maintenance advance, clubhouse charges, GST, stamp duty and any "miscellaneous" head should match what you agreed to, with no new charge appearing for the first time at handover.
Collect the warranty cards and manuals for every fitting the builder supplied — sanitary fittings, chimney and hob if included, geyser, fans, kitchen hardware. Get the parking allocation in writing with the bay number, the society or maintenance NOC where applicable, and the electricity and water meter numbers, photographed at handover so the first bill starts from a reading you can prove. Ask for the as-built drawings showing where concealed pipes and conduits run — you will need them the day you drill a hole to hang a shelf.
3. How to run the inspection: daylight, tools, and a second pair of eyes
Book the inspection in daylight, ideally between 10 am and 3 pm — damp patches, paint defects, tile shade variation and hairline cracks all hide under tube lights. Ask for at least half a day and refuse to be rushed through in thirty minutes; buyers typically report spending 2.5 to 4 hours inspecting a 2BHK properly and logging 11 to 14 snags.
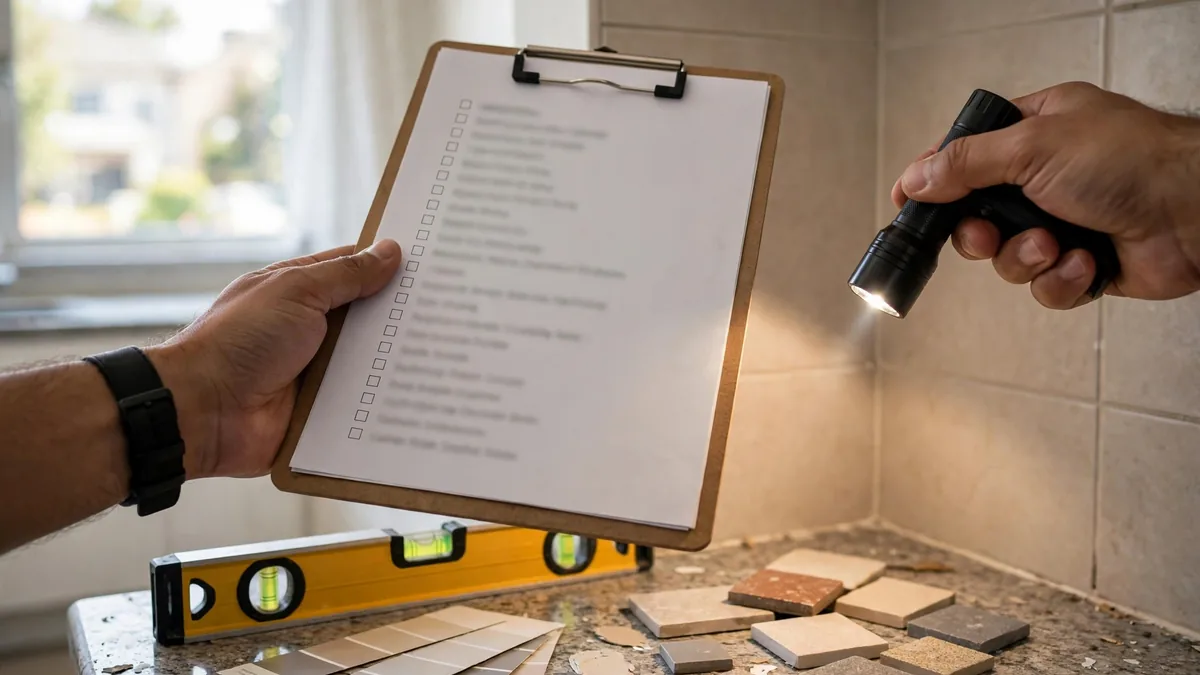
Carry a simple kit: your phone, a torch, a marble for floor slopes, a small spirit level, masking tape and this checklist on paper. Photograph every defect with tape beside it and the room in frame, and shoot a slow video walkthrough of each room before you leave — the only evidence that a defect existed on handover day.
Bring a second person — one reads the checklist and writes, the other tests. If you are not confident about electricals or plumbing, hire a professional pre-delivery inspection service for the day and get a local quote first; a trained inspector tests earthing, checks MCB labelling and runs every tap, and the written report strengthens your snag list. Do not start any interior work until the snag list is settled, because once your contractor has touched a wall, the builder can argue the defect was caused by your work.

4. The 40 checks, room by room
Work through the flat in one direction — entrance to living room, bedrooms, kitchen, bathrooms, balcony — ticking each check off as you go.
4.1 Main door and entrance (checks 1–4)
Open and close the main door fully: it should swing freely, latch without lifting or pushing, and seal against the frame without a visible gap. Test every lock, including the deadbolt and safety chain, and check that all keys provided actually work — builders sometimes hand over keys never cut for your lock. Test the doorbell and the video door phone or intercom, confirm the peephole is fitted and clear, and check the frame for dents, paint damage and gaps in sealant where it meets the wall.
4.2 Windows and ventilation (checks 5–9)
Open and close every window and sliding door, and check each one locks and stays open without sliding shut on its own. Look at the glass for cracks, scratches and fogging between double-glazed panes, and check the gaskets and sealant around every frame for gaps where rain and dust will enter. Test the mosquito mesh and safety grills where fitted, confirm the handles are tight and the sliding tracks run smoothly, and check cross-ventilation in each room — a bedroom with one small window will feel stuffy even with a fan running.
4.3 Walls, ceiling and paint (checks 10–14)
Run the torch flat along each wall in daylight — side light exposes undulations, patch marks and roller lines that overhead light hides. Look for damp patches and stains, especially on ceilings below bathrooms and walls shared with wet areas, and press suspect patches gently: soft or flaking plaster means active damp, not a paint defect. Check for hairline cracks around doors, windows and beam junctions; a crack that runs diagonally or steps through bricks needs an engineer, not a painter. Confirm the paint is even, with no drips or shade variation, and the ceiling is level and free of formwork marks.
4.4 Flooring and tiling (checks 15–20)
Tap every tile lightly with your knuckles and listen: a hollow, drummy sound means the tile is not bonded properly and will crack or pop out later. Check grout lines for gaps and missing filler, and look for chipped edges, shade variation between tile batches, and lippage where one tile edge sits higher than its neighbour. Confirm the skirting is fitted neatly with no gaps, and roll the marble across the floor — in bathrooms, balconies and utility areas it should roll gently toward the drain, never toward the room. Check wooden or laminate flooring for scratches and stains, and that it meets door thresholds cleanly.
4.5 Kitchen (checks 21–25)
Check the countertop with the spirit level and for chips along the front edge, and confirm the sink is sealed to the counter with no gap where water will seep under. Run both taps and watch the drain: water should flow away briskly and the sink should empty completely without pooling. Open and close every cabinet shutter and drawer, checking alignment, soft-close action where promised, and handles that are tight and evenly placed. Confirm the hob and chimney points and the duct outlet where one was promised, and test the purifier and fridge points with a phone charger.
4.6 Bathrooms and toilets (checks 26–31)
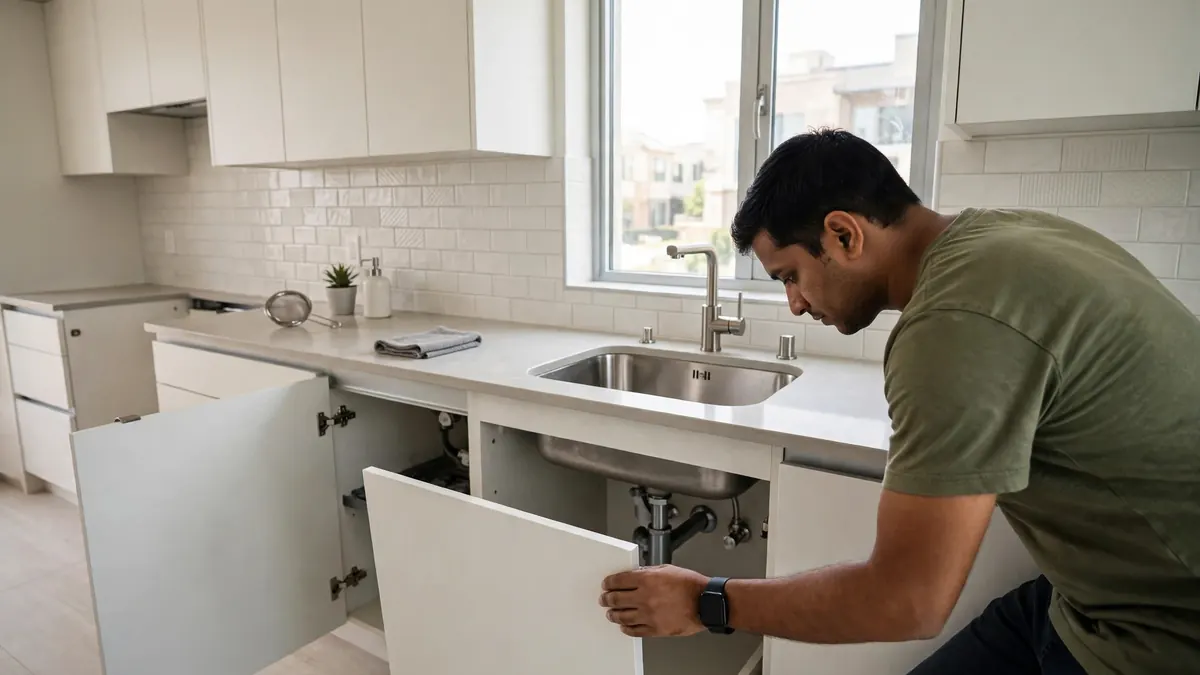
Pour a mug of water on the bathroom floor and watch it: it must run to the drain, not pool in a corner or run under the door. Check every tile joint for cracked grout and every fitting — taps, mixers, shower, health faucet — for leaks and proper water pressure. Flush each WC twice and watch the refill and flush action, and check the seat, cover and flush plate are fitted firmly. Inspect the mirror, vanity cabinet and towel rail for alignment and fixing, confirm the exhaust fan runs quietly, and look under the sink and behind the WC for damp or staining. Check the bathroom door is water-resistant at the bottom and closes without rubbing the floor.
4.7 Electricals (checks 32–36)
Switch every light, fan and socket on and off, and plug a phone charger into every socket to confirm it is live — builders sometimes leave dead points behind finished walls. Open the MCB box and check every breaker is labelled, the main switch and ELCB or RCCB trip when tested, and there is no loose wiring or burnt smell. Test the inverter or power-backup point if one was promised, and confirm fan hooks and light points sit where the agreement shows them. Check the doorbell, intercom and any smart-home switches, and confirm the earthing point in the kitchen and bathrooms is present.
4.8 Plumbing, water and common areas (checks 37–40)
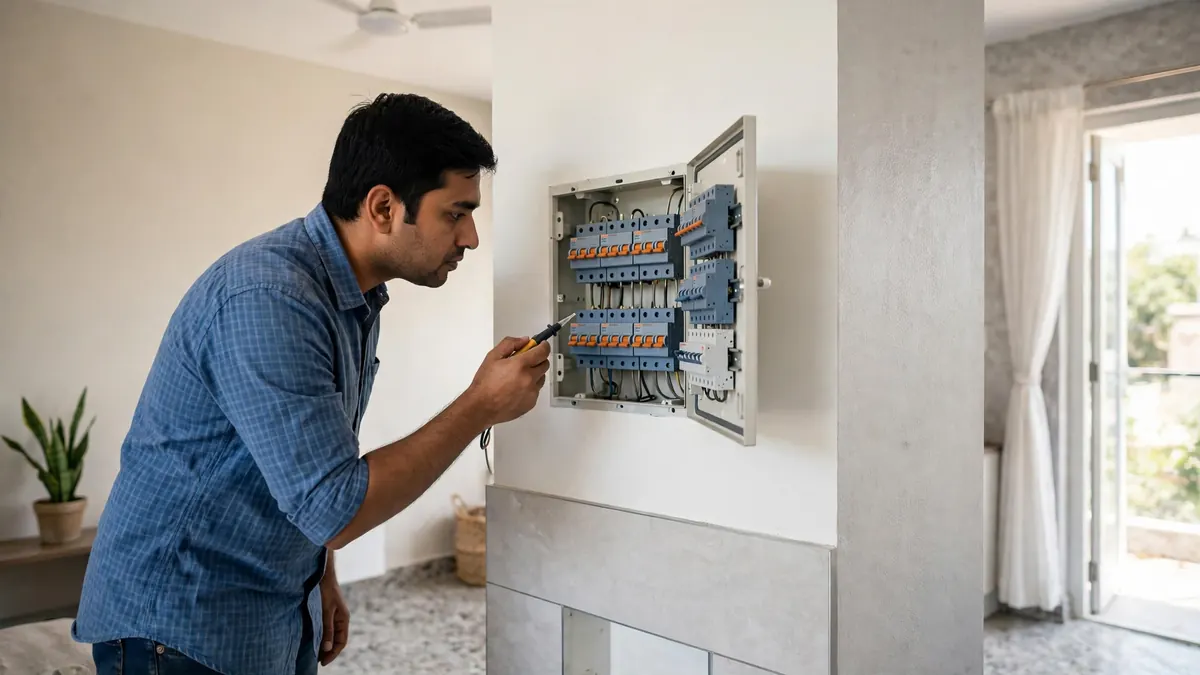
Run all taps together for a few minutes and check the pressure stays steady and the water runs clear, not brown or gritty. Ask to see the overhead tank and confirm it has a cover, an overflow pipe and a working float valve, and check the water meter reading against your handover sheet. Finally, walk the common areas: the lift should run smoothly to your floor, the staircase and corridor lights should work, the fire extinguisher and hose reel on your floor should be in place, and your parking bay should be marked and clear of debris.
5. The snag list: turning findings into a written commitment
Every defect goes on one snag list — the most important document of the day. Number each defect, name the room, describe it in one line, mark its severity — critical, moderate or minor — and attach the photograph. Critical stops you using the room: a leaking tap, a non-working WC, a door that does not lock. Moderate needs repair but the room is usable: a hollow tile, a paint patch, a misaligned cabinet. Minor is cosmetic: a small scratch, a paint drip, a loose handle.
Submit the snag list in writing to the builder's site office on the same day and get a signed, stamped acknowledgement with the date. Ask for a written remediation timeline — most builders work to 30 to 60 days — and the name and phone number of the person responsible. Sign the possession letter only with "subject to resolution of the snag list dated [date]" added, and keep a copy of everything: the signed snag list, the acknowledgement, the photos, the video walkthrough and the possession letter. If the builder asks you to sign a clean possession letter with a verbal promise to fix things, refuse politely — a verbal promise is worth nothing once the keys have changed hands.

6. Money, RERA rights and the five-year safety net
Do not clear the final payment until the OC is in hand, the inspection is done and the snag list is acknowledged. Under RERA, an allottee must take physical possession within two months of the Occupancy Certificate being issued — the builder cannot keep you waiting indefinitely once the OC exists, but you should not let the builder rush you into signing before you have inspected.
Your strongest protection is Section 14(3) of the Real Estate (Regulation and Development) Act, 2016: defects in structure, workmanship, quality or services reported within five years from handing over possession must be rectified free of charge within 30 days. A MahaRERA order dated 22 October 2026 confirmed the five years run from the actual handover date, not the OC date, and the builder cannot shorten the period in the agreement. Keep the handover date in writing — the clock starts from it. Report later defects by email and registered post, keep the delivery proof, and if the builder does not rectify within 30 days you are entitled to compensation under the Act. Follow up on the conveyance deed too — it should be registered within three months of the OC where no local law sets a different period. Outside RERA, check your agreement for its own defect liability clause.
Fine hairline cracks in plaster are common as a building settles, but a diagonal crack across a wall, a crack through a beam or column, or a crack that keeps widening needs a structural engineer's assessment before you accept the flat. Do not let anyone fill a structural crack with putty and call it repaired.
7. If the builder pressures you or refuses to fix snags
Pressure at handover usually takes three forms: sign now or lose the flat, pay first and inspect later, or accept a verbal promise instead of a written snag list. None is acceptable — a builder cannot cancel your allotment for insisting on an inspection, cannot compel possession without an OC, and cannot make you waive statutory rights by signing a clean possession letter. If the builder refuses to acknowledge the snag list, send it by email and registered post the same day and keep the receipts; escalate to the builder's head office, then file a complaint on your state RERA portal with the possession letter, snag list, photographs and proofs attached. For defects still unrepaired after the 30-day window, the consumer forum is the next step. Keep every message in writing from handover day; WhatsApp messages with dates and photographs help, but a registered letter is stronger.
Your handover-day order of work
Arrive in daylight with your kit and a second person. First, collect the OC, CC, possession letter, sanctioned plan and RERA certificate, and check the final demand against your agreement. Second, walk the flat in one direction with this checklist, photographing every defect. Third, write the numbered snag list, submit it in writing, and get a signed acknowledgement and a remediation timeline. Fourth, record the meter readings, collect the keys and warranty cards, and sign the possession letter only with "subject to resolution of the snag list" added. Fifth, keep the handover date safe — it starts your five-year RERA clock.
A new home should begin with confidence, not with a repair queue you discover room by room after moving in. The few hours you spend inspecting today are the cheapest insurance you will ever buy for the most expensive purchase of your life. If you are building your own home, the same discipline applies at every stage — RTPL's guides on building plan approval in India, terrace waterproofing and house construction costs walk through each stage before handover day. If you would like a site engineer to walk the inspection with you, talk to RTPL Constructions — and take this checklist with you either way.