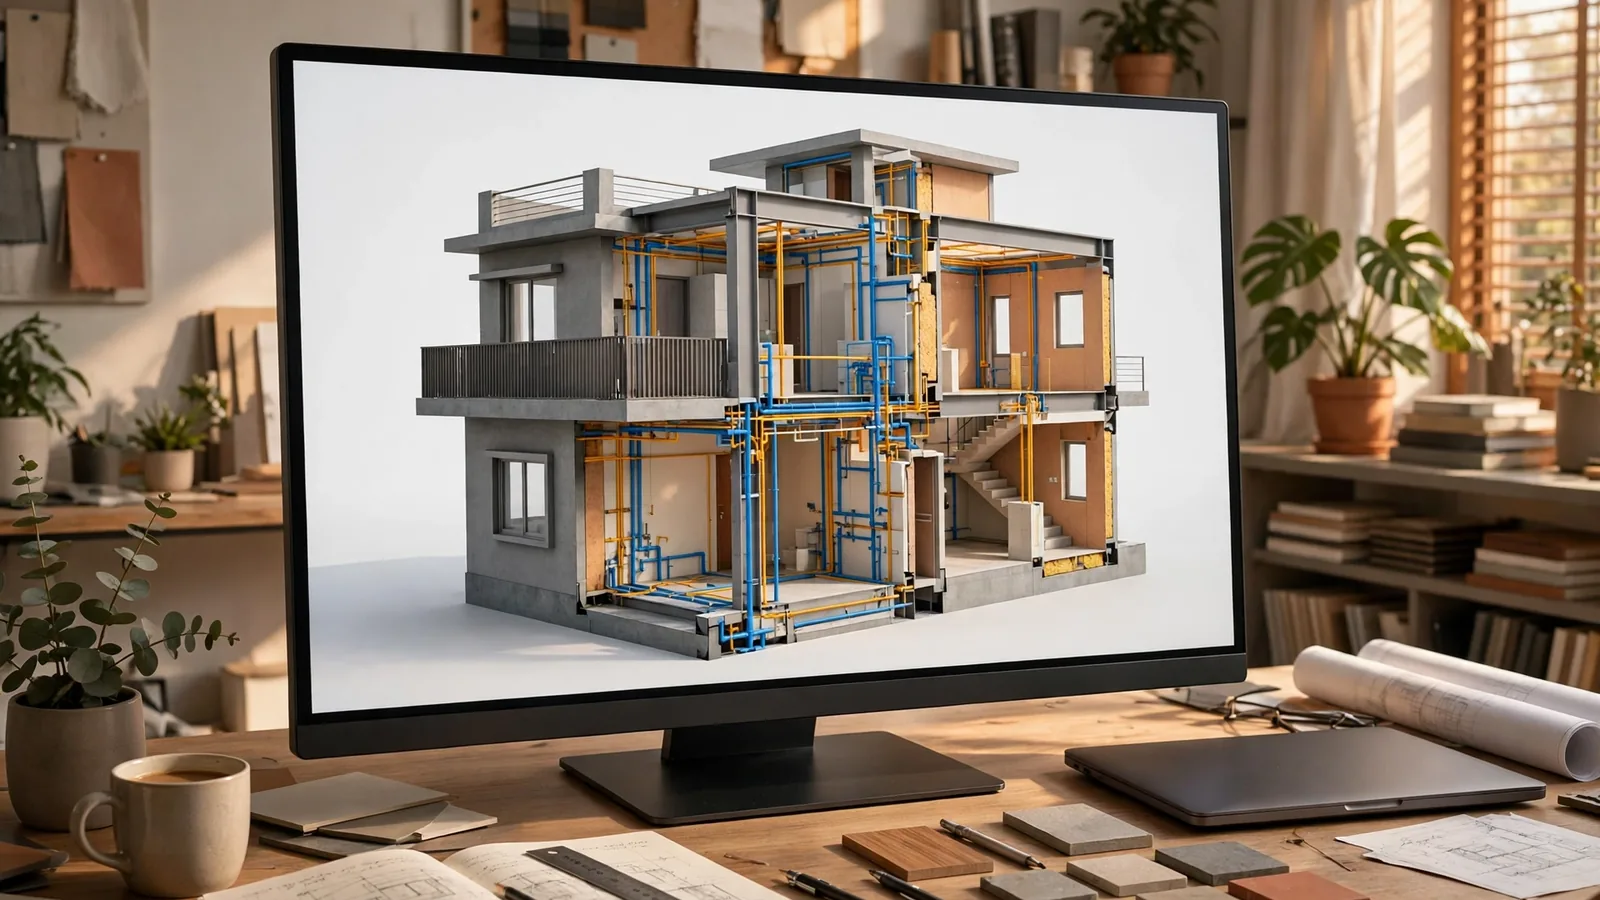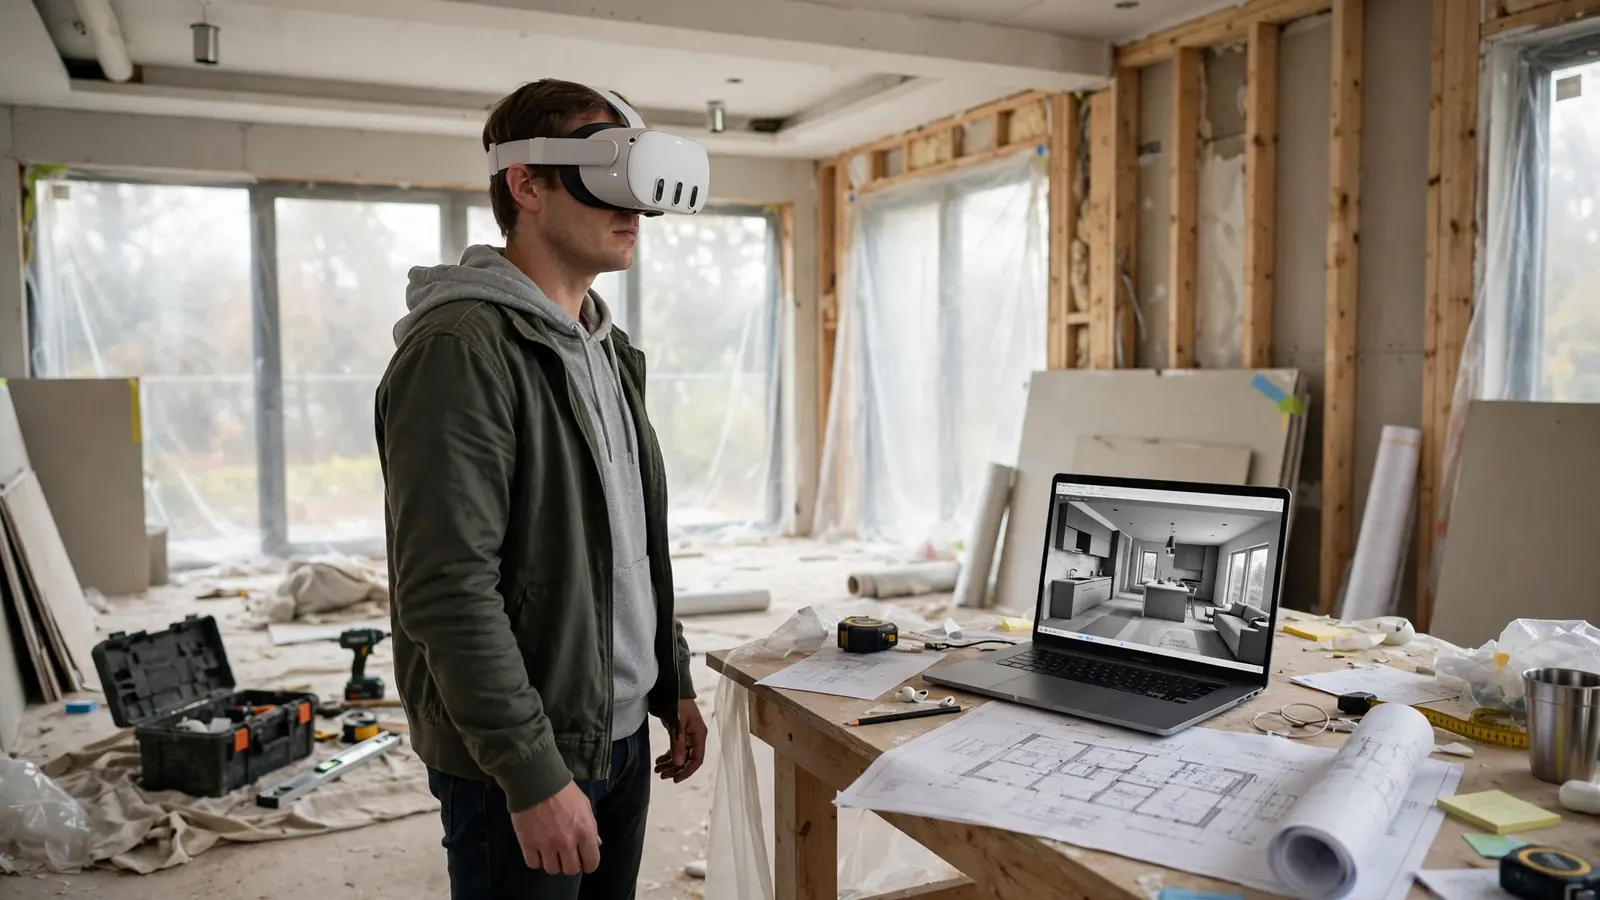
A Noida homeowner approved a living room on paper, then walked into the built house and found the sofa wall too short for the sofa, the kitchen island blocking the passage to the balcony, and the bedroom window opening onto a blank wall two feet away. None of it was wrong on the plan. Every dimension was there, in millimetres, on the drawing. The problem was that a plan shows where things go, and a person needs to know how the room feels when they stand in it. That is the gap VR visualization in construction is meant to close.
A VR walkthrough takes the same approved drawings and turns them into a house you can stand inside at true size, before a single brick is laid. It does not replace the drawings, and it does not guarantee the finished house will match the model. Used the right way, it is the cheapest point in the whole build to find a mistake.
1. What VR visualization actually is
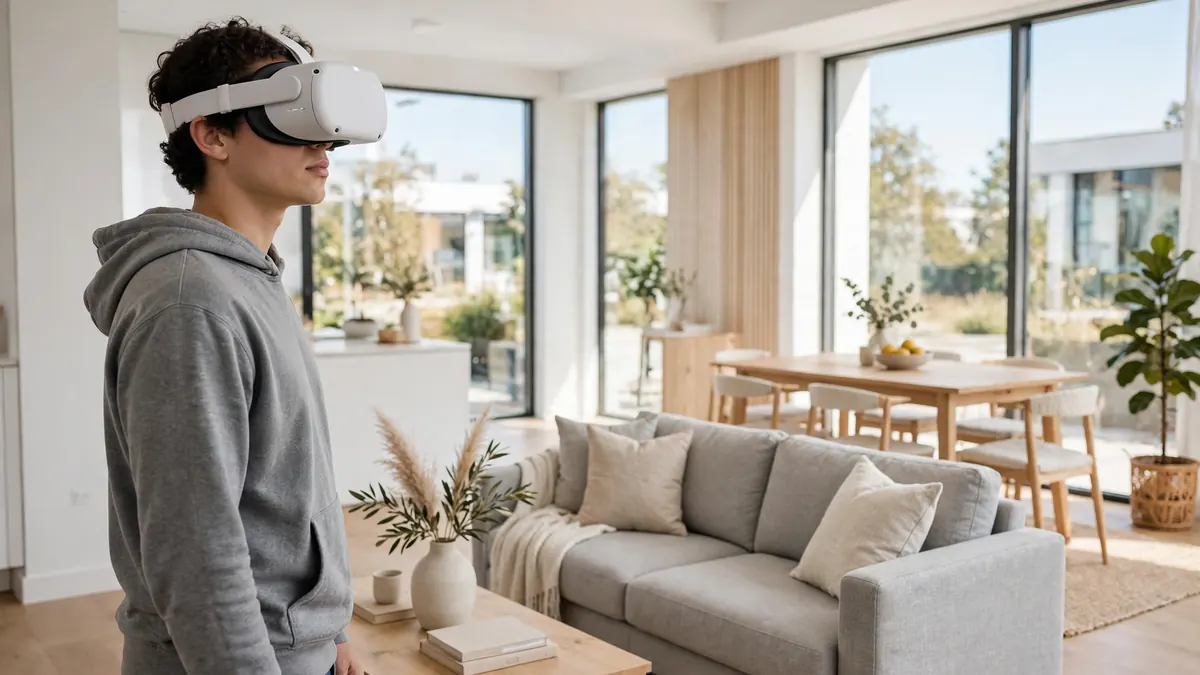
VR visualization starts with a 3D model built from the architectural drawings — the floor plan, elevations, room sizes, ceiling heights, door and window positions. That model is then shown through a VR headset, or on a phone or computer screen as a 360-degree walkthrough. With a headset you stand inside the model at 1:1 scale: a 10 ft by 12 ft bedroom feels like a 10 ft by 12 ft bedroom, because you are standing in it, not looking at a picture of it.
Three terms get mixed up. A still render is one fixed photograph of the model from one angle. A walkthrough video moves through the house on a fixed path the maker chose. A VR walkthrough lets you choose where to look and where to go next. A 360-degree photo tour is stitched from photographs of a real, finished room, so it cannot exist for a house that has not been built yet.
The model is a representation of the design, not the building. Construction still runs from the dimensioned 2D drawings — the working drawings carry the sizes, structural notes and material call-outs the site builds from. A render or a VR model has none of that detail, and no builder should measure from it.
2. What you can actually see in VR before construction
VR earns its place on the things a flat drawing hides. Scale is the first: ceiling height, room proportions, corridor width and the height of a window sill read very differently at full size than they do as numbers on a sheet. A 9 ft ceiling and a 10 ft ceiling look the same on paper. Standing under them, they do not.
Sightlines are the second. Stand at the main door: what do you see first — the living room, or the kitchen sink? Does the dining table sit in the path to the stairs? Does the master bedroom window face the neighbour's wall? In VR, you notice these while moving a wall is still a line on a drawing.
Light is the third. A good model shows daylight at a stated time of day, so you can see which rooms get morning sun and which stay dim. Treat it as a guide, not a measurement: the model knows the window size and orientation, not the building coming up next door.
Then there is fit — the test most plans fail quietly. Put the furniture you actually own into the model, at real sizes: the bed, the wardrobe, the dining table, the washing machine. Check the doors: does the wardrobe door hit the bed? Does the bathroom door open onto the washbasin? Does the kitchen have a place for the fridge and the water purifier, with plug points where you will stand?
Read next: RTPL's Modular Kitchen Cost in Noida and AAC Blocks vs Red Bricks in India.
3. VR vs still renders vs a physical model
Each format answers a different question. A still render is the cheapest way to agree on a look — one room, one finish, one view. A walkthrough video is the best way to show a family member far away how the house flows. A VR walkthrough is the best way to judge scale and proportion yourself. A sample flat is the best way to judge a material by touch — but it cannot show your plot, your orientation or your room sizes.
| Format | What it shows best | What it hides | Best use |
|---|---|---|---|
| Still render | One room, one finish, one view | Scale, flow, what is behind you | Agreeing a look or a finish |
| Walkthrough video | Flow from room to room | Your own pace and choices | Showing family who cannot visit |
| VR walkthrough | True scale, sightlines, proportions | Touch, sound, exact colour | Design review before approval |
| Physical model / sample flat | Materials by touch, built reality | Your plot and your room sizes | Judging finishes and workmanship |
Use a render to pick a finish, a video to show the flow, and VR to check the space. If the question is whether the kitchen works, VR is the tool.
4. What to check in a VR walkthrough, room by room
Go in with a list, not just curiosity. A tour that only shows the pretty angles is a sales film, not a design review. Ask to move freely, and in each room ask: can I fit what belongs here, can I reach what I use, can I see out, and can I get through?
In the living room, stand where the sofa will go and look at the TV wall — is the distance right, and is there a window behind the screen that will glare in the evening? In the kitchen, stand at the hob and reach for the sink and the fridge without crossing the room. In the bedrooms, put the bed and wardrobe in at real sizes and open the wardrobe doors. In the bathrooms, check the door swing against the washbasin and the WC. On the stairs, look at the headroom at the turn — a stair that is fine on plan can feel tight at full height.
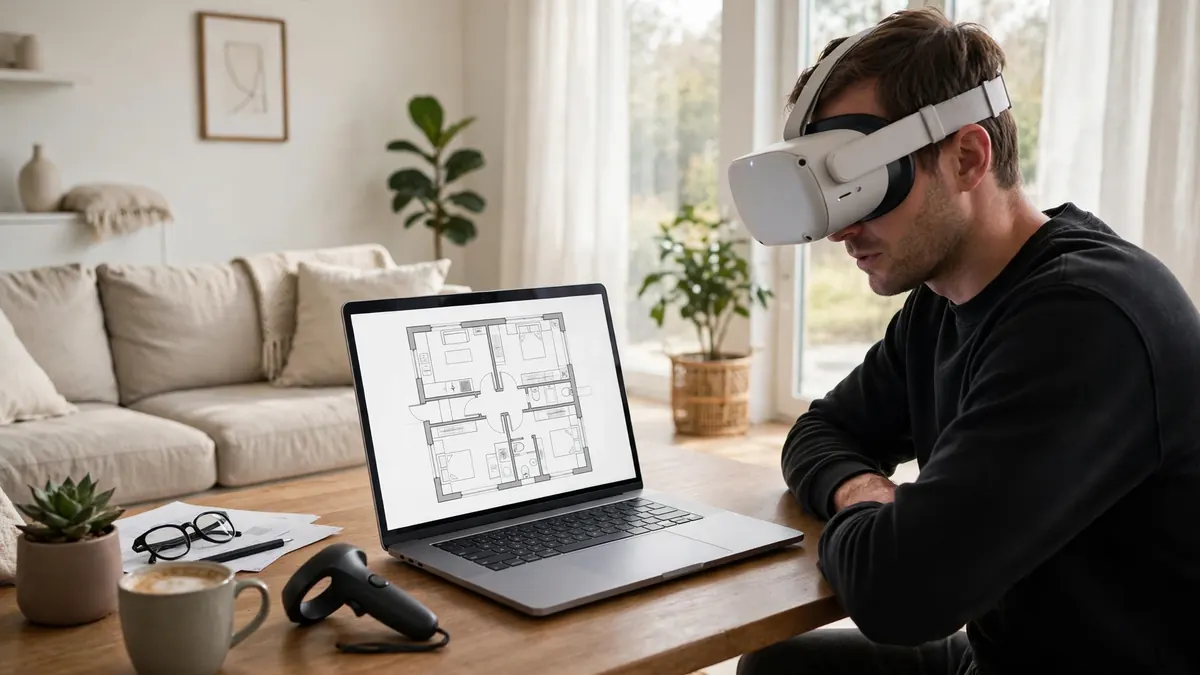
Check the services too, as far as the model shows them: plug points beside the bed and behind the TV, the chimney duct route, the washing machine point, and storage — not just wardrobes, but linen and cleaning material.
A VR model is a design-review tool, not a construction document. Check every size on the dimensioned 2D drawings before you approve it, and confirm that what you saw in VR matches the drawings — columns, beams, door sizes and window positions are decided in the working drawings, not in the model.
5. What VR cannot show you — and why that matters
VR is easy to over-trust, because it feels real. The first limit is colour and material: a screen shows wood grain under perfect digital light, and the batch on site will differ. Ask for physical samples of the flooring, countertop and shutter finish, and judge them in daylight before you approve.
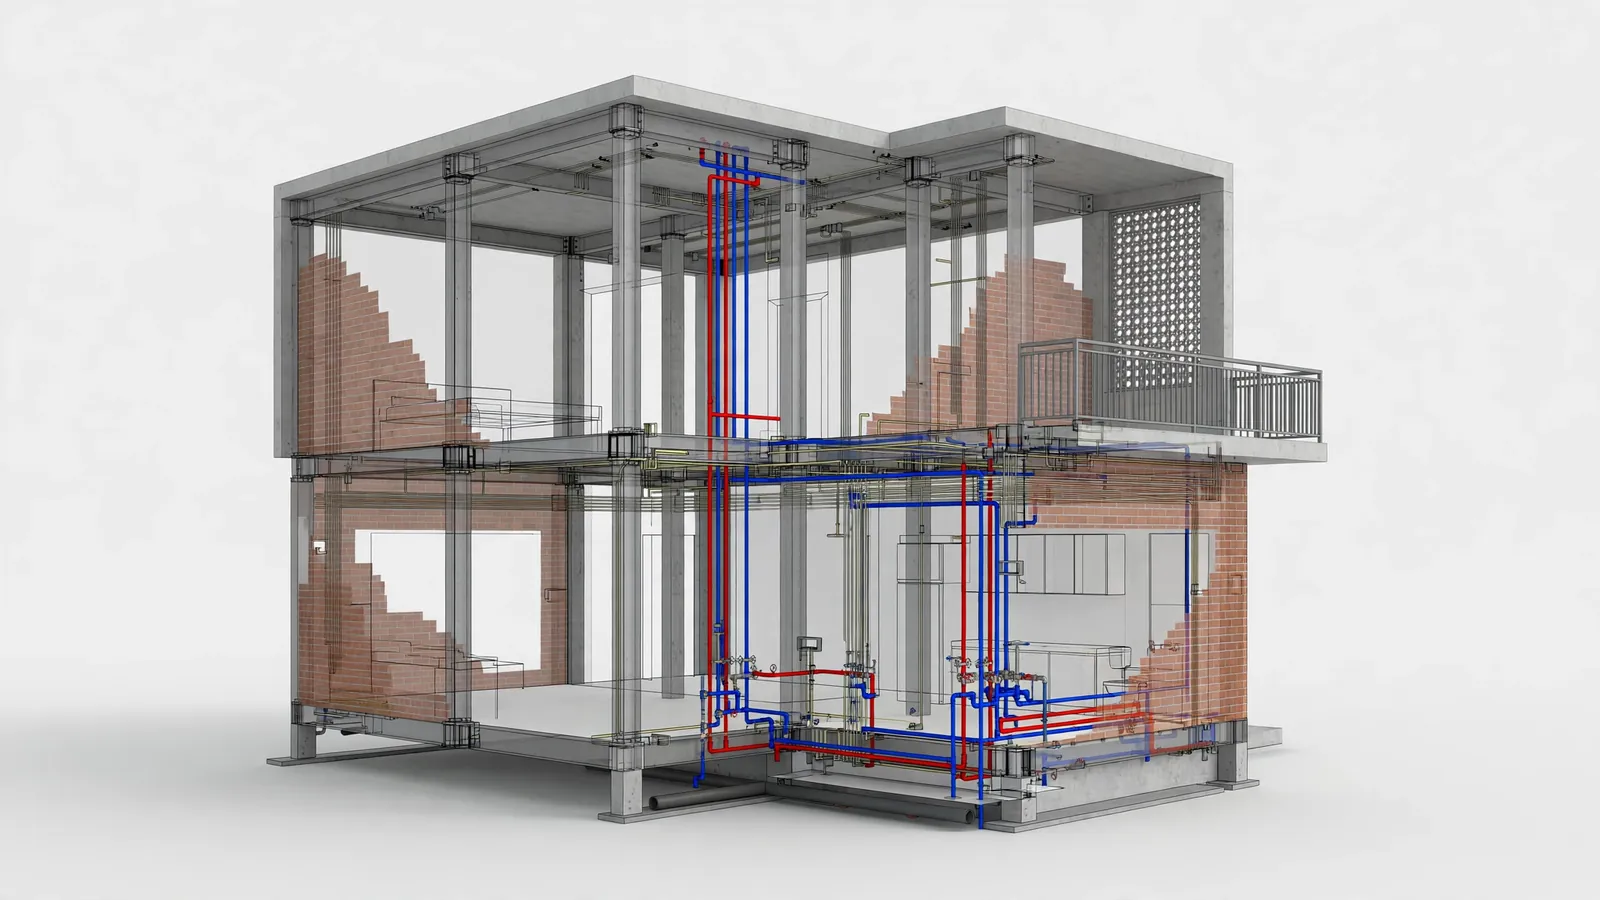
The second limit is everything you cannot see or hear. VR cannot show noise from the road, the smell of a drain after rain, water pressure on the top floor, or the quality of a lift. It cannot show workmanship, and it cannot show what is hidden inside the walls: pipes, wiring, ducts and structure. A valve can meet its clearance on paper and still be hard to reach for servicing. Those checks belong to the drawings and the engineers.
The third limit is the model itself. A wide camera view can make a room feel larger than it will be, so always check the size on the plan. A model built with generic furniture and placeholder finishes looks impressive and tells you little — what matters is whether the furniture, flooring and light match the procurement plan for your house. If the tour hides the dimensions or forces one fixed route, treat it as a marketing film. Some people also feel dizzy in a headset, so a phone walkthrough is a fair substitute, taken in short parts.
6. How RTPL uses VR before a brick is laid
At RTPL, the VR walkthrough sits between the design and the construction, not after it. The design is modelled from the approved drawings, the client walks through it, and the notes go back into the drawings before construction starts. A wall moved in the model costs a drawing revision; the same wall moved after it is built costs demolition, material, labour and time.
A typical review works like this. The team shares the model and the 2D plan together, so the client can check one against the other. The client walks the house room by room, marks what feels wrong — a passage too narrow, a window in the wrong place, a kitchen with no room for the fridge — and the agreed changes go back into the drawings. Nothing is built from the model alone; the site still works from the dimensioned working drawings.
VR also helps people who are not in the room: a family member in another city can walk the same model on a phone and send back notes, instead of approving a plan they have never really seen. No client names, project results or cost savings are claimed here — this is a guide to the method, not a report on a specific house. The test of a session is how many changes it produced before construction, and whether those changes are written into the drawings.
Option A: VR design review before approval
- Best fit: A new home or a full floor, where layout and scale decide daily life.
- Trade-off: Takes a session and a model built from your drawings.
- Site check: Walk freely, check sizes on the 2D plan, note changes in writing.
Option B: Renders only, VR skipped
- Best fit: A small renovation, one room, or a finish-only decision.
- Trade-off: Scale and sightlines stay untested until the build.
- Site check: Confirm sizes and door swings on the plan, not from the picture.
VR earns its place when the decision is expensive to reverse — a new house, a full floor, a kitchen layout — and when the people deciding cannot read a drawing or live far away. For a repaint or a finish change, a render is enough. One built from the site drawings is a design tool; one built from prettier drawings is a sales tool.
Homeowner checklist before you approve a design in VR
- Walk freely: do not accept a fixed-route film — move room to room yourself, and stop where you want to stop.
- Check sizes on the plan: every room, ceiling height, door width and window size against the dimensioned 2D drawings.
- Fit your furniture: bed, wardrobe, dining table, sofa, fridge and washing machine at real sizes, with doors that open.
- Test the kitchen triangle: hob, sink and fridge within easy reach, with counter space and plug points where you stand.
- Look out of every window: what you see, and what the neighbours see in.
- Note changes in writing: every change from the walkthrough, agreed and written into the drawings before construction.
- Confirm what VR did not check: structure, services, noise, water pressure and workmanship still need the drawings and the site team.
Decision rule: approve only when the walkthrough and the 2D drawings agree, the furniture fits, and your changes are written into the drawings. If they disagree, the drawings decide. For a VR walkthrough of your own home design in Noida or Delhi NCR, talk to RTPL Constructions & Engineering — call +91 9027748599 for a free consultation.
Last reviewed: 8 November 2026. This article replaces the one-sentence version published 28 January 2026 at the same URL.