
Possession day is the last moment you have full leverage over your builder. Defects are cheapest to fix before you move in, and the handover form you are about to sign usually says you accept the flat "in good condition". A snag list — a numbered, photographed record of every defect, emailed to the builder the same day — is what turns a polite complaint into a repair. Done properly, a thorough inspection of a 2BHK takes 60 to 90 minutes. This guide walks you through it room by room, the way a site engineer would.
Why the snag list comes before the signature
Most buyers treat possession as a celebration and the inspection as a formality. That order is backwards: once you sign, every defect becomes a request the builder can schedule at its convenience; before you sign, the same defect is a condition of handover.
There is a second reason to inspect first: interiors hide defects. Paint, false ceilings, wardrobes and kitchen counters cover walls and floors. If you start interior work before closing the snag list, a damp patch or a hollow tile discovered later becomes an argument about whose contractor caused it. Finish the snag list, get the repairs done, and only then let the interiors begin. Our new house handover checklist covers the wider 40-point handover; this article focuses on the inspection itself.
Before the visit: the OC and your kit
Ask the builder for a copy of the Occupancy Certificate (OC) before the inspection, and check that it covers your block. Do not take possession without an OC: without it the building is technically unauthorised for habitation, and the OC is also needed for khata, utility connections and resale. Also ask for the Completion Certificate (CC); in some states the two are combined. Under RERA, a buyer is generally expected to take possession within two months of the OC being issued — so inspect promptly, but do not rush it.
Bring a small kit. You will need a printed copy of this checklist, a roll of masking tape and a marker, a torch, a bubble level, a tester plug for sockets, and your phone for photographs. Bring a friend too — a second pair of eyes catches things you walk past, and one person can run a tap while the other watches the drain. If you plan to hire a professional inspector, book them for the same visit rather than a separate one.

Walls and ceilings: read the surface
Start with the walls and ceilings in every room, in daylight. Look for cracks, especially at the corners of doors and windows, where stress concentrates. Look for damp patches, bubbling paint and any musty smell — all three point to water getting in somewhere. Then shine the torch along the wall at a low angle: flat light hides uneven plaster, while raking light shows every bump, hollow and trowel mark.
Check that the paint finish is uniform and the colour matches from wall to wall. Check the wall is plumb with the bubble level, and look for settlement gaps where walls meet columns. A hairline crack at a wall-column joint is common as a building settles, but a gap you can fit a coin into, or a crack that runs diagonally across a wall, is worth flagging as a higher-severity item and asking the builder to explain in writing.

Floors and tiles: tap every tile
The tile test is the simplest and most valuable check in the whole inspection. Tap every floor tile with your knuckles and listen. A solid tile gives a sharp, hard sound. A hollow sound means the tile is poorly bonded to the bed underneath — it may look fine today and crack the first time heavy furniture goes on it. One snagging guide puts the contrast bluntly: a hollow tile costs around ₹200 to fix before you move in, and around ₹20,000 after furniture is in place (illustrative figures, Nov 2026). Mark every hollow tile with masking tape as you find it.
Also check for chipped or cracked tiles, mismatched colours or patterns, and grout lines that are uneven or not fully filled. Check the floor is level — a marble rolling across the room on its own tells you the slope is wrong. In balconies, the floor must slope gently towards the drain; a puddle that sits after you pour water is a defect, not a quirk.

Bathrooms and kitchen: water tells the truth
Wet areas are where the most expensive defects hide, and water is the test that finds them. Pour water on the bathroom floor and watch it: it should flow to the drain without pooling anywhere. Then run all the taps at full pressure for five minutes and look for hidden leaks — under sinks, behind the WC, at pipe joints. Check the ceiling below a bathroom for seepage staining, and look closely at floor and tile-joint gaps, where water finds its way through first.
In the kitchen, check the platform is level and the sink drains freely. Confirm the geyser and gas or hob points are where the agreement says they should be. If the flat includes a false ceiling, check it is complete, level and free of stains — a stain on a new false ceiling usually means a leak above it. Our guide to bathroom waterproofing mistakes explains why so many new bathrooms leak within the first year.

Doors and windows: open, close, lock, repeat
Open and close every door and window fully. A door that scrapes the floor, sticks in its frame or will not stay shut has either been hung badly or has warped — both are the builder's problem now, not yours later. Check the alignment in the frame, the weather seals, and that every lock and latch works with the key provided. Check the glass for chips and cracks, and the frames for gaps where rain and dust will enter.
Sliding windows deserve a separate look: the shutter should glide without jumping off its track, and the track should be clean and undamaged. For the main door, check the frame is firmly fixed, the hinges are tight, and the lock aligns with the strike plate without forcing.

Electrical and plumbing: test, don't assume
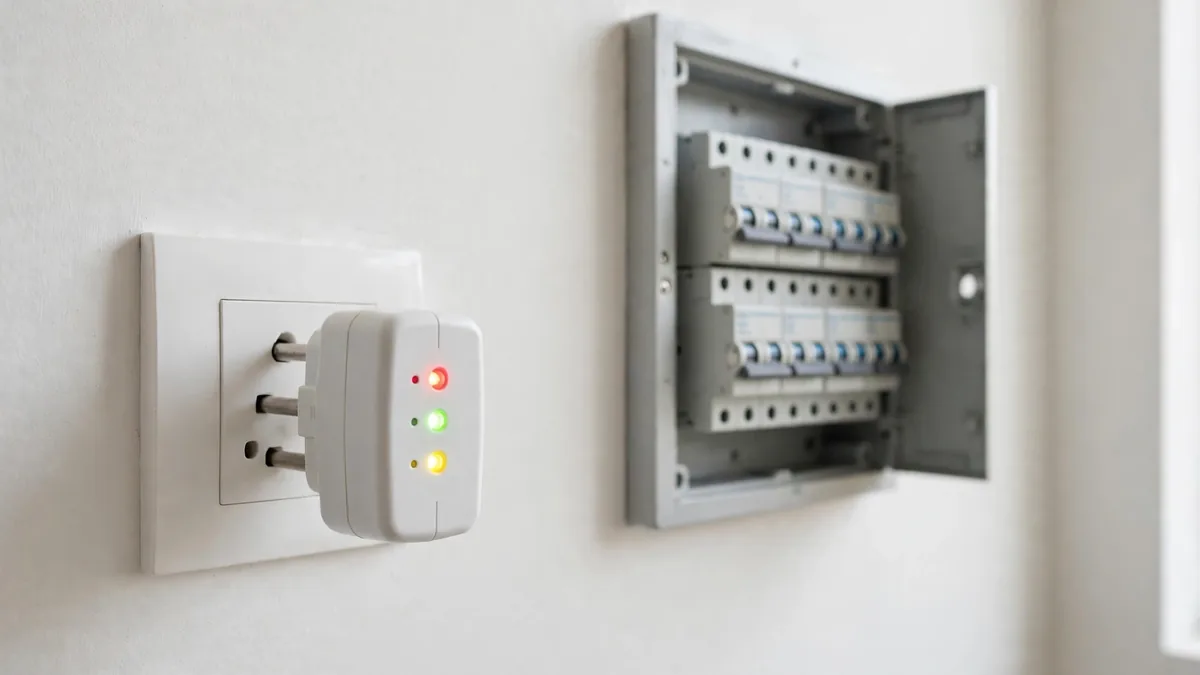
Switch on every light, fan point and socket. Use the tester plug in each socket to confirm it is live and correctly wired, and check the number and position of light points and fan hooks match what was specified. Open the MCB board and confirm the rating matches your agreement, the circuits are labelled, and earthing is present. Our guide to house wiring in India explains what to look for in earthing, MCBs and load planning.
On plumbing, run the taps in two places at the same time and watch the pressure — a sharp drop points to undersized piping or a shared line problem. Check drainage flow in every basin and floor trap, look for visible leaks under sinks, and flush every cistern twice. Confirm the flush fills and empties properly and the cistern does not keep running. The plumbing layout guide covers the slope and pipe decisions behind all of this; by handover day, you are verifying the result.
Never sign a handover form that states the flat is defect-free while defects are still open. If the builder insists, add in handwriting: "Subject to the snag list emailed on [date]". A signed acknowledgement or email confirmation of your list is the record that protects you later.
How to report defects so they actually get fixed
A verbal list at the site office disappears; a written list with photographs does not. Follow this sequence on the same day:
1. Mark and photograph. Stick masking tape next to every defect and photograph it with the tape visible, so the builder's team can find the exact spot. Photograph the room as well, so the location is clear.
2. Write a numbered list, room by room. Give every defect a number, a room, a photo reference and a severity. Use three levels: critical means it affects habitability, such as a non-functional toilet or a major leak; moderate means it affects daily use, such as a sticky door or a dead socket; minor means cosmetic, such as a paint patch. Where the defect is a deviation from what was promised, quote the specification in your agreement or brochure.
3. Email it the same day. Send it to the builder's customer care and the project manager, and keep the email trail. Ask for a signed acknowledgement or email confirmation.
4. Ask for a written repair timeline and a re-inspection date. Thirty to sixty days is a reasonable window for most snag items; critical items should be sooner.
5. Re-inspect before signing. On the re-inspection, tick off each item against your list. Anything still open should be noted on the handover form before you sign — in writing, not as a verbal promise.
| Severity | What it means | Examples | Reasonable repair window |
|---|---|---|---|
| Critical | Affects habitability or safety | Major leak, non-functional toilet, no water or power to a room | Before possession |
| Moderate | Affects daily use | Hollow tiles, sticky door, dead socket, poor drainage slope | 30 days |
| Minor | Cosmetic only | Paint patch, grout gap, small scratch on a fitting | 30–60 days |
Your rights: RERA gives you five years
Under Section 14(3) of the Real Estate (Regulation and Development) Act, 2016, if a structural defect or a defect in workmanship, quality or services promised in your agreement appears within five years of possession, the builder must rectify it free of charge within 30 days. But it works best with evidence: a snag list submitted in writing before signing is a dated record that the defect existed at handover, and it strengthens a complaint to your state's RERA authority if the builder fails to act.
Read our guide to RERA for homebuyers for the full picture of what the Act covers and how to check a project. And do not sign any document waiving the OC or stating satisfaction with all aspects of the flat before you have completed the inspection and noted the defects in writing.
Documents to collect at handover
Alongside the inspection, collect the paperwork: the OC copy and CC, warranty cards for all fittings, the society NOC confirming your unit registration, the parking allocation document, the society maintenance schedule, and the RERA possession receipt where applicable. Keep a scanned copy of everything, including your snag-list email and the builder's acknowledgement.
Should you hire a professional snagging inspector?
For most buyers, a careful self-inspection with this checklist, a torch, masking tape and a tester plug catches the visible defects — and the visible defects are the majority. A professional is worth considering if you are short on time, the flat is large, or you want an expert eye on waterproofing and structural elements that an untrained eye misses. One guide puts a paid professional snagging service at ₹3,000–₹8,000 for a standard 2–3 BHK (illustrative, Nov 2026). For a resale flat the question does not arise in the same way: there is no builder to submit a snag list to, so the pre-purchase inspection replaces the pre-possession one, and the same room-by-room checks apply before you pay, not after.
Final check before you sign
Walk the flat once more with your list in hand. Every item should be taped, photographed, numbered and emailed. Critical items should be fixed before possession; the rest should carry a written repair date. Then — and only then — sign the handover form, noting any open items on it in writing. Ninety minutes of careful inspection on possession day is the cheapest insurance you will ever buy for a home. If you would like a site engineer to walk the flat with you before handover, talk to RTPL — a second professional eye on possession day is worth far more than a dispute six months later.