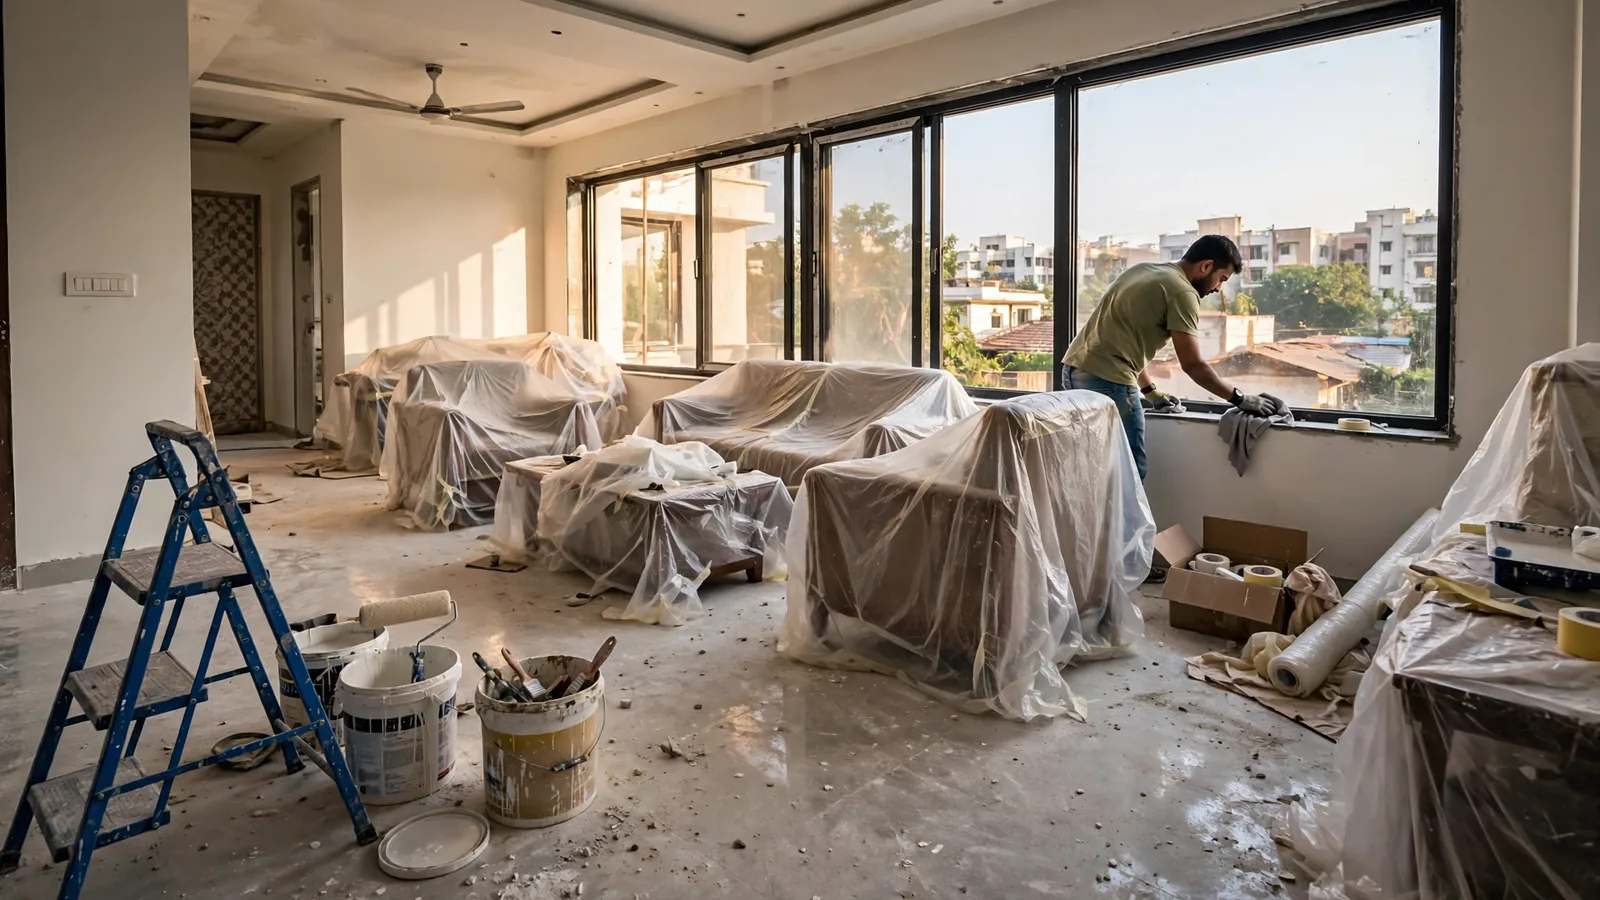
The painter packs up, the last socket plate goes on, and the house looks finished. It is not. Walk in with white socks and they come out grey; open a cupboard and a puff of fine dust comes out with it. A new house in India is never move-in ready straight after the last coat of paint — it needs a deep clean and a snag check first, in the right order, and before a single piece of furniture arrives.
1. The short answer
Deep-clean after every trade has finished — civil work, electricals, plumbing, woodwork, painting, polish and all fittings — and before furniture arrives. The order that works is: snag inspection first, then debris removal, then dry dusting from the top down, then windows and glass, then the kitchen and bathrooms, and floors last. Clean the overhead tank before anyone drinks from a tap, and ventilate for several days. A professional team usually finishes a 1,000–2,000 sq ft home in 6 to 8 hours; doing it yourself takes 2 to 3 days.
2. First rule: inspect before you clean — the snag check
The most common mistake is cleaning first and inspecting after. Dust fills a chipped tile edge, a wet mop makes a paint mark look like a water stain, and by the time you notice the loose socket or the leaking tap, the contractor has been paid in full and moved to the next site. Inspect first, clean second, so you do not clean the same area twice and so every defect is still the contractor's problem, not yours.
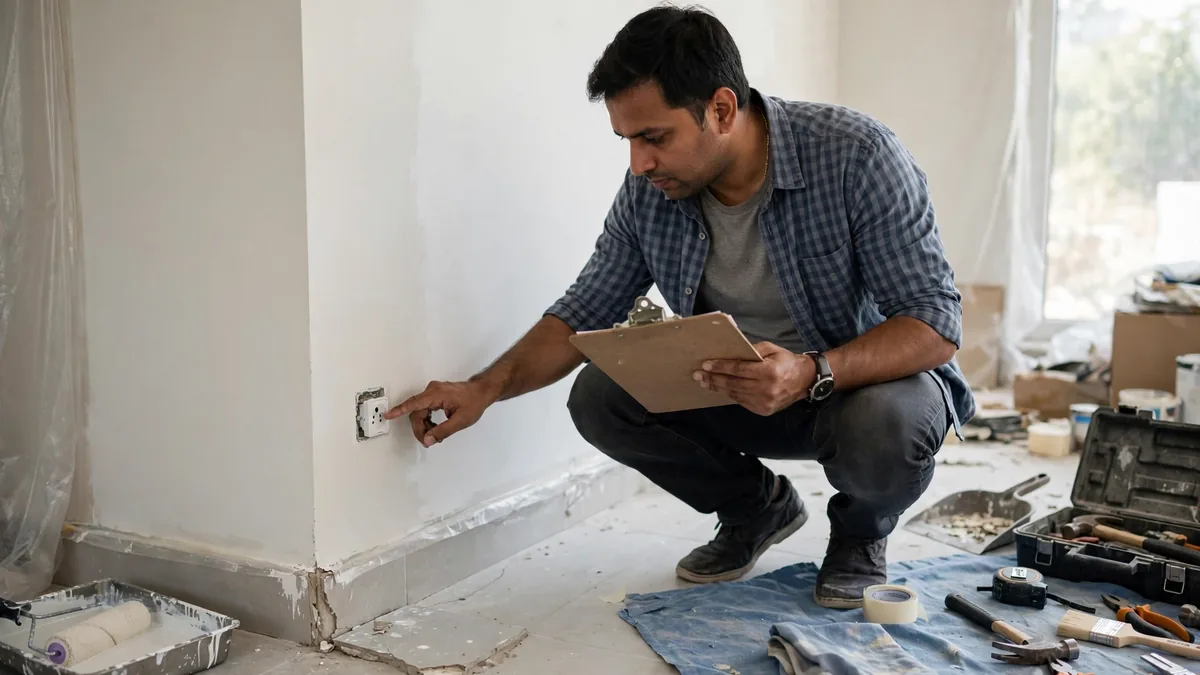
Walk every room with a clipboard and a phone camera. Run every tap, switch every light and fan, open and close every door and window, check tile edges for chips, tap tiles for a hollow sound, and check paint in daylight for patches and drips. Photograph each defect, write it on one list, and hand it to the contractor before the final payment. Our snag list guide shows how to inspect finishing like a site engineer, and our new house handover checklist covers the full 40 checks.
3. Step 1: clear the debris and leftover material
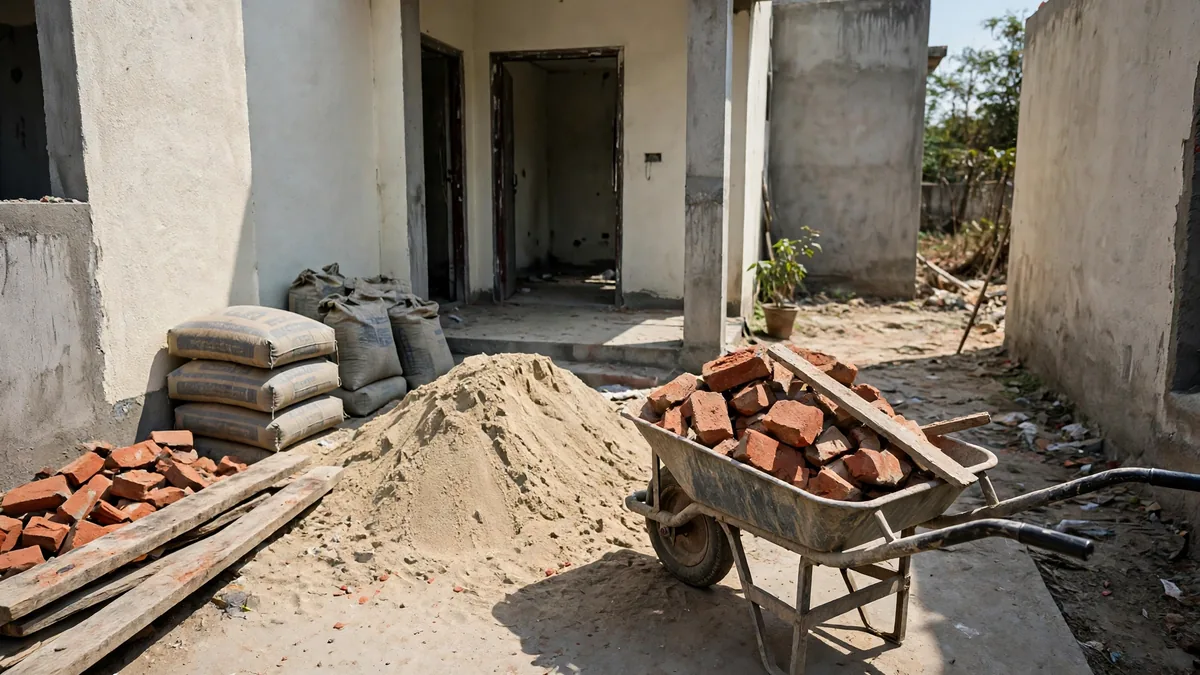
Before a single cloth comes out, get the big stuff out of the house. Leftover bricks, broken tiles, sand piles, cement bags, wood offcuts, packaging and paint tins all have to leave — from the rooms, the terrace and the plot around the house. Sand and cement left against a wall will stain it in the first rain.
Sort as you clear. Keep what you paid for and might still need — spare tiles, a tin of the same paint shade, extra switch plates. Half-used cement bags harden within weeks. Sweep the big debris out room by room and carry it straight outside.
4. Step 2: dry dust, top to bottom — never wet first
Construction dust is not ordinary house dust. It is fine, it gets into every corner, every cupboard and every switch box, and it is the reason a new house keeps looking dirty for weeks after the first clean. The rule is dry before wet, and top before bottom. Mop a dusty floor first and you make mud; clean the floor before the ceiling fan and the fan will drop its dust onto your clean floor the first time it runs.
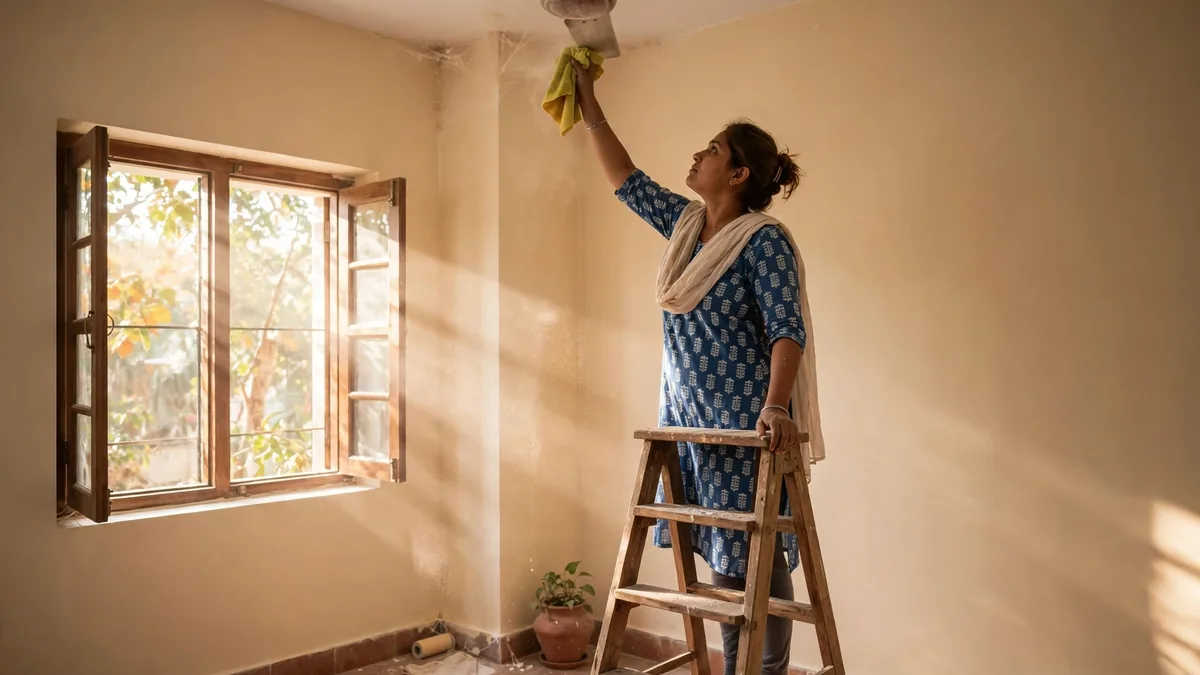
Start at the ceiling — fans, fixtures, beams and wardrobe tops — with a dry microfiber cloth. Then the walls, working down, then doors, switchboards and skirtings, and disinfect the high-touch points — switches, handles, railings and door knobs. Then vacuum with a HEPA-filter vacuum: an ordinary broom just moves fine dust around. Vacuum the corners, cupboard interiors and window tracks, empty the vacuum outside, and wear a dust mask and gloves.
5. Step 3: windows, glass, grills and tracks
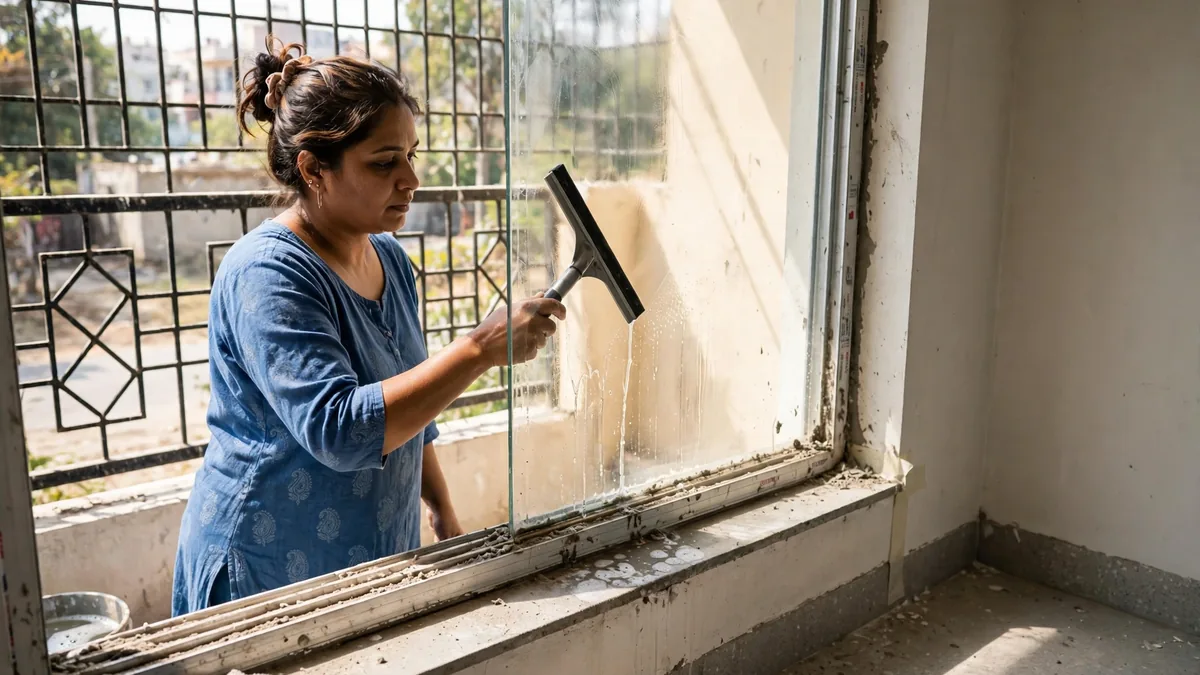
Windows are where a new house shows its age first. The glass is filmed with dust and paint splatter, the tracks are full of grit, and the grills have cement splashes in the corners. Clean the frames and tracks before the glass: vacuum the grit from the sliding tracks, wipe the frames, and pick cement drops off the corners with a plastic scraper — never a metal blade, because the scratch is permanent.
For the glass, warm water with a little white vinegar works better than any strong chemical. Wash, squeegee top-down, and wipe the edges dry so no drips dry into streaks. Do the outside face too, where you can reach it safely. While you are there, check that every window opens, closes and locks properly and the mosquito mesh has no tears — a window that sticks now is a snag, not a repair you pay for later.
6. Step 4: the kitchen — the hardest room in the house
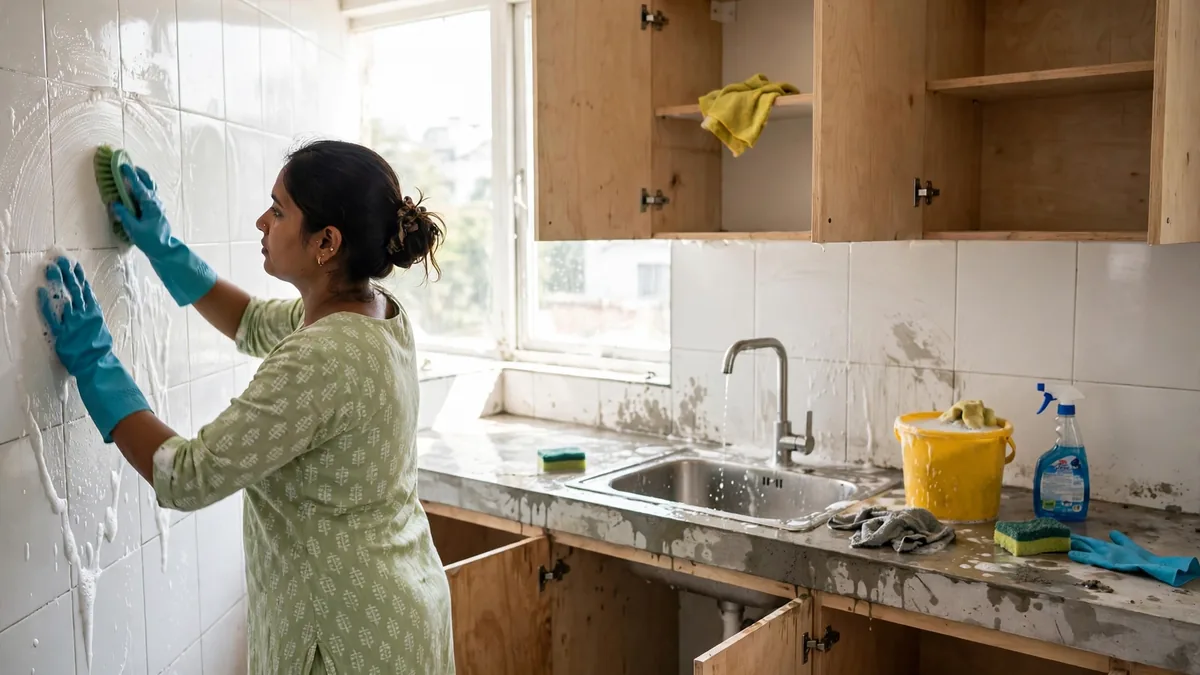
The kitchen takes the longest of any room, and it is the one most owners underestimate. It has the most surfaces, and every one carries a different residue: cement on the counter, grout haze on the tiles, adhesive on the fittings, paint on the switch plates. Budget half a day for it.
Scrub the wall tiles with a non-abrasive scrubber and mild detergent; a plastic scraper lifts cement and grout stains first. Wipe the countertop the same way, and flush the sink drain to clear dust from the trap. Then the cabinets: wipe every shelf and drawer inside and out before anything goes in. Pull the stove and fridge away from the wall and clean underneath, wash the hob and chimney filter, and peel stickers and adhesive off with warm soapy water rather than a blade.
7. Step 5: bathrooms — grout, adhesive and hard water
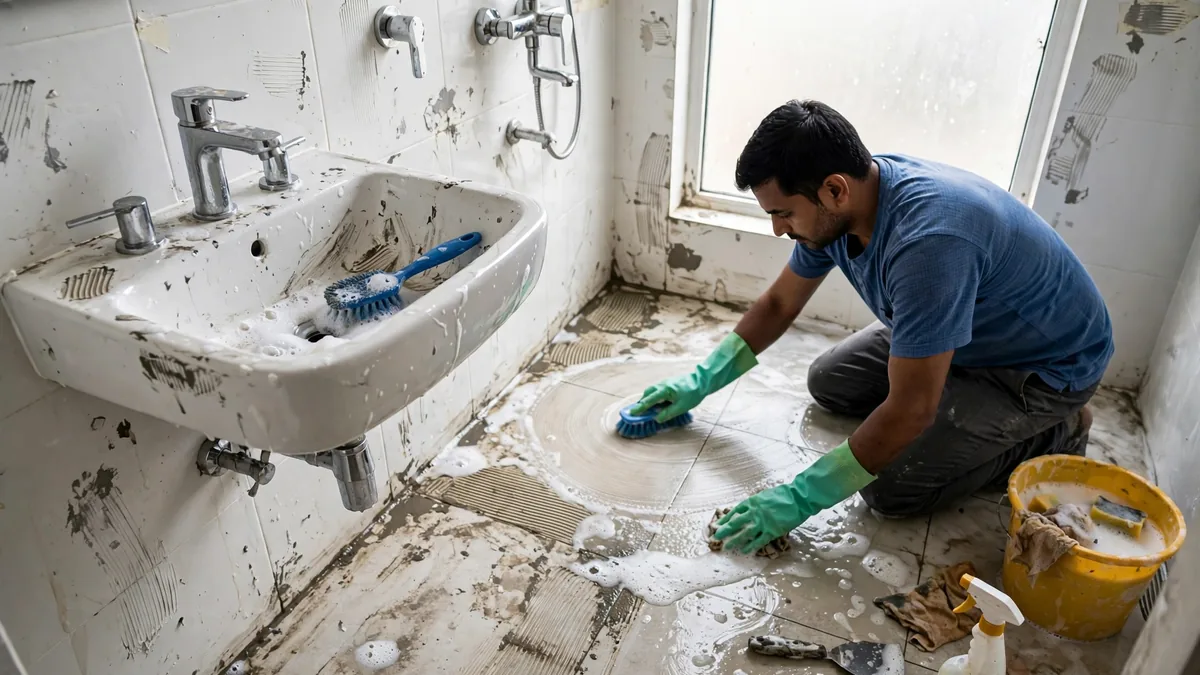
Bathrooms are the second-hardest room. Grout lines hold cement, tiles hold adhesive, and fittings hold the first hard-water marks of the house. Scrub the floor and wall tiles with a non-abrasive brush, working the grout lines properly. Disinfect the WC, basin and shower area, wash every fitting, and peel adhesive off with warm soapy water. Check the silicone joints around the basin and WC: a gap there is a leak waiting to happen. Our guide to bathroom waterproofing mistakes explains why new bathrooms leak.
Two details owners usually miss: the shower head and the drain. Soak the shower head in a 50-50 mix of water and white vinegar for an hour to dissolve hard-water deposits — if it still sprays unevenly, that is a snag. Flush every drain with several buckets of water to clear dust and grit from the traps — a slow drain on day one is a blocked drain by month three. Run every tap for a few minutes: if the water runs brown or gritty, the lines still carry debris.
8. Step 6: floors last — and the right cleaner for each floor
Floors go last because everything above them has been dropping dust on them for a week. Sweep and vacuum thoroughly first, then mop. One mop pass on a dusty floor just spreads the dust into a film that dries grey; two passes — the first with a well-wrung mop, the second with clean water — is what leaves the floor clean.
The cleaner matters more than the effort. Use a pH-neutral floor cleaner on marble, granite and vitrified tile. Never use an acidic cleaner — vinegar, lemon-based or strong toilet cleaners — on marble or polished stone: acid dulls the polish and etches the surface. On ordinary tile, mild detergent is enough; on wood, only a barely damp mop — standing water warps boards. If the floor still looks hazy after two passes, it is usually grout haze or a thin cement film — a plastic scraper and a second scrub take it off. Check the terrace after the first rain for standing water — a terrace that holds water finds its way into the ceiling below. See our monsoon maintenance checklist for the roof and drains.
9. The water tank and drinking water — do not skip this
Every new house has the same hidden problem: the overhead water tank. During construction it collects cement dust, sand and debris, and the pipes carry the same. Nobody sees it, so nobody cleans it — and then the family drinks from it on the first night. Clean the tank before moving in: drain it, scrub the inside walls and floor, rinse twice, and let it refill. Run every tap for several minutes before using the water for drinking or cooking, and if it still runs brown or gritty after flushing, get it tested first. A tank clean costs little and takes an hour. While the tank is open, check the lid fits and the overflow pipe is clear.
10. DIY or professional? What it costs in India
Whether to hire a team comes down to size, residue and time. A small flat with light dust is a weekend job for two people. A full house with heavy residue, high ceilings and a terrace needs a HEPA vacuum, a scrubbing machine and a team that does this every day — they finish a 1,000–2,000 sq ft home in about a day, against 2 to 3 days DIY.
The rate cards below are from published city guides in November 2026 and disagree by city — treat them as illustrative ranges to compare quotes against, not as a price any company will honour. Post-construction cleaning is quoted separately from a regular deep clean, because it takes longer. Always ask what is included: the tank clean, terrace, window exteriors and cupboard interiors are often charged extra, and the cheapest quote usually leaves them out.
| City / size | Illustrative rate | What it covers | Note |
|---|---|---|---|
| Gurgaon — 1 BHK | ₹2,500 | Post-construction deep clean | Rate card, Nov 2026 |
| Gurgaon — 2 BHK | ₹4,500 | Post-construction deep clean | Rate card, Nov 2026 |
| Gurgaon — 3 BHK | ₹5,500 | Post-construction deep clean | Rate card, Nov 2026 |
| Gurgaon — 5 BHK / villa | ₹9,000 | Post-construction deep clean | Rate card, Nov 2026 |
| Gurgaon — per sq ft | ₹3–₹6 per sq ft | Deep clean, size-based | Rate card, Nov 2026 |
| Mumbai — 1,000 sq ft | ₹15,000 + 18% GST | Post-construction clean, ~1 day | MIB Care, Oct 2026; minimum ₹6,000 + GST |
| Kochi — 1,000 sq ft | ₹7,000 | Post-construction clean | ₹7 per sq ft; minimum ₹3,000 |
11. Your move-in readiness checklist
Before you fix the griha pravesh date, walk the house once more. The snag list is completed and every defect fixed, not just noted. Debris is gone from the house, terrace and plot. Every room has had its dry dusting, windows, wet rooms and floors — in that order. The water tank is cleaned and the water runs clear. The rooms have had several days of open windows. The final payment is made only after sign-off. And the furniture arrives after the clean, not during it.
Plan the griha pravesh date only after the work and the cleaning are finished — a house that is clean on moving day stays clean; a half-cleaned one will still be dusty a month later. Clean once, properly, in the right order. If you want a professional eye on the handover itself, talk to RTPL Constructions & Engineering about a handover inspection before you sign off.
Cleaning removes dust and stains; it does not fix defects. Chipped tiles, loose sockets, leaking taps, hollow tiles, cracked silicone and sticking windows are snag items for the contractor to fix before final payment. Wear a dust mask and gloves, ventilate while using chemical cleaners, and never mix them. Costs here are illustrative rate-card ranges (November 2026), not RTPL quotes.